With the vault door hinge designs, time to make it in Maya. I already know how I'm going to make it, and how I will animate it too for the opening and closing of the door. So, below are the steps I've taken to create the hinge:
 |
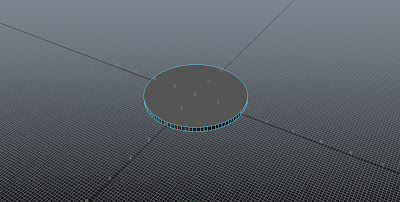
| Step 1: Create a cylinder 4 units by 4 units. |
 |
| Step 2: Squash the cylinder by 0.8 units. |
 |
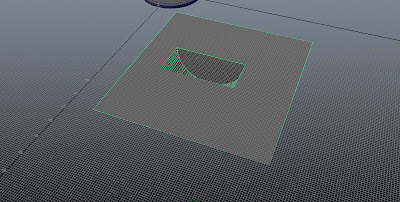
| Step 3: Clean up the top and bottom face. |
 |
| Step 4: Extrude Offset by 0.1 units. |
 |
| Step 5: Extrude Offset by 0.1 units and pull up by 0.1 units. |
 |
| Step 6: Create a plane 2 units by 2 units. |
 |
| Step 7: Place the plane on the middle of the upper cylinder face. |
 |
| Step 8: Extrude the face by 2 units. |
 |
| Step 9: Extrude the face again by 5 units. |
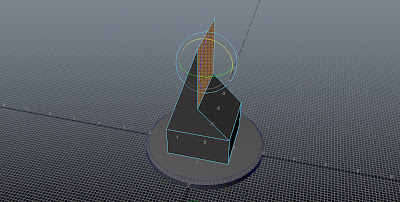 |
| Step 10: Rotate the top face by 90 degrees. |
 |
| Step 11: Drag the face horizontally across to create a diagonal object. |
 |
| Step 12: Extrude the face by 10 units |
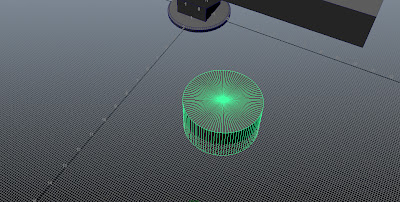 |
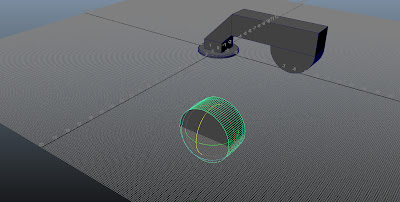
| Step 13: Create a cylinder, 4 units by 4 units and 2 units deep. |
 |
| Step 14: Clean up the top and bottom edges. |
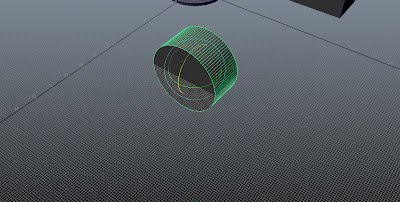 |
| Step 15: Rotate the cylinder by 90 degrees on to its side. |
 |
| Step 16: Create a large plane, big enough to cut through the cylinder. |
 |
| Step 17: Select the two objects and use the Boolean Intersect tool. |
 |
| Step 18: Select the flat plane face and delete it. |
 |
| Step 19: Position the half cylinder underneath the hinge bar. |
 |
| Step 20: Select both objects and combine them. |
 |
| Step 21: Create another cylinder, 4 units by 4 units and 2 units deep. |
 |
| Step 22: Clean the upper and lower cylinder faces. |
 |
| Step 23: Rotate the cylinder by 90 degrees on to its side. |
 |
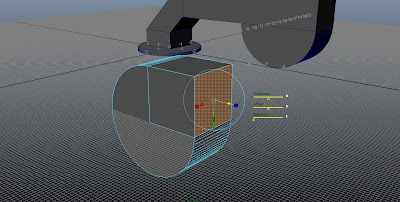
| Step 24: Create a cube 2 units by 2 units by 2 units. |
 |
| Step 25: Position the cube so it cuts into one quarter of the cylinder. |
 |
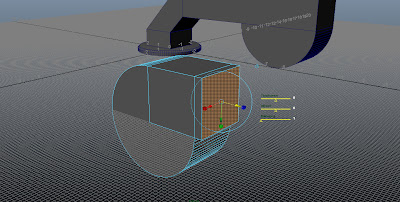
| Step 26: Use the Boolean Intersection tool to attach the two together. |
 |
| Step 27: Select the cubes face on the right side. |
 |
| Step 28: Extrude the face by 0.2 units. |
 |
| Step 29: Rotate the object so that the extruded face is at the bottom left side. |
 |
| Step 30: Position the new piece next to the other part of the hinge. |
 |
| Step 31: Place the hinge on to the door, 0.4 units away from the frame edge. |
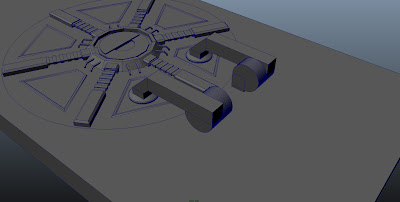 |
| Step 32: Duplicate the hinge, flip it, and position it on the lower half. |
The door as such is now complete. The only thing left to do now modelling wise is to perhaps add a few details to the wall, which is looking a bit bare... However there is only so much you can do to a concrete wall.


No comments:
Post a Comment