Speaking to a few of my peers, I noticed that I had quiet a lot of UV Maps/Textures... In fact, I had a lot more than the norm. As it stood, I had 14 UV Maps/Textures, which was way too much considering we are meant to be producing an efficient model.
So, I got back in to Maya and made some changes. I began to combine the UV's of multiple objects, creating a much tighter, compact UV Map. I then took these UV Maps into Photoshop and began re-making the textures to map multiple objects at the same time. Below is what I have done:
 |
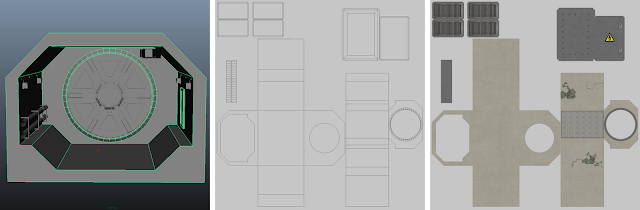
| All front door pieces included apart from the geared bolt pieces, which are seperate. |
 |
| The main door piece: I kept this separate as it is one of the larger objects and I wanted the metal detail to be nice and clear. |
 |
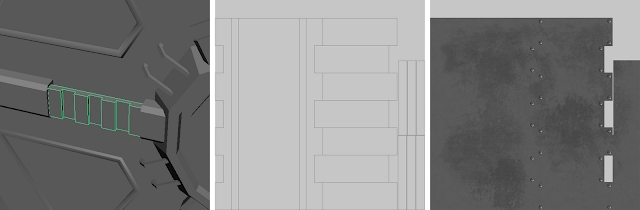
| The tunnel piece: Now includes the electricity box. I still kept it fairly large for the same reasons as the main door piece, quality. |
 |
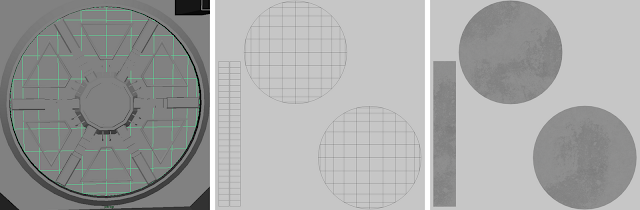
| All the props: Sewage Pipe, Sewage Pipe Brackets, Light Fittings, Wires, Wire Brackets, Air Vent. |
 |
| The Light: I've kept this separate from the other pieces as I want to add a glow to the object to simulate lit glass. |
 |
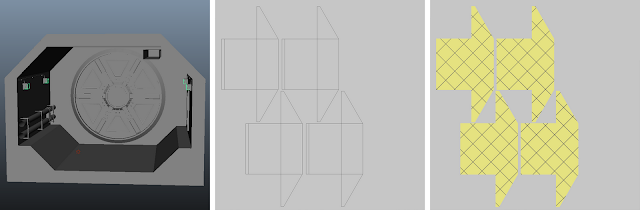
| The Geared Bolts: I've kept these septate as they will be animated when the door unlocks itself. |


No comments:
Post a Comment