While bump mapping was not necessary, I thought I would take a crack at it (in the easiest way). I watched a short video on the basic bump mapping using white, grey and black which gave me the basic knowledge (shown below).
Maya: Basics of Bump Mapping:
http://www.youtube.com/watch?v=y5MGaoQ9JSI
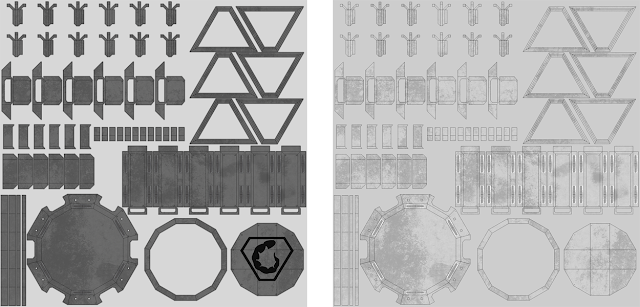
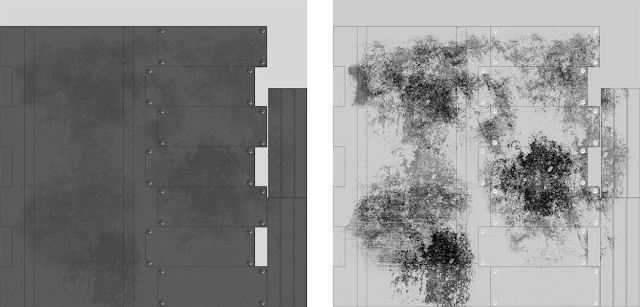
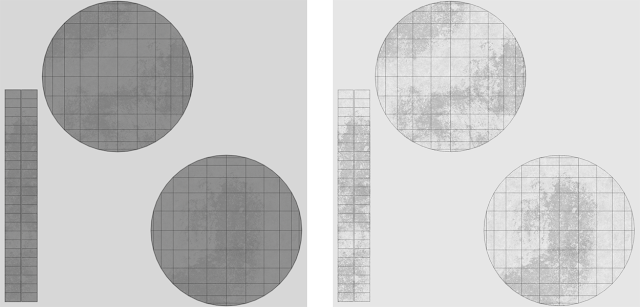
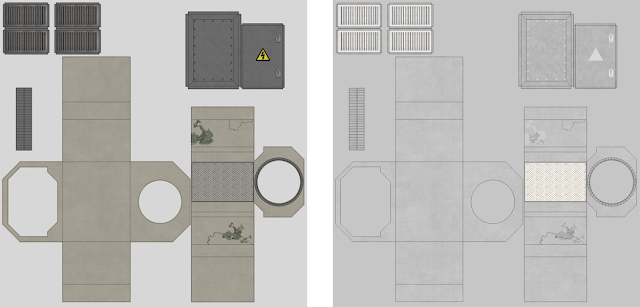
From my understanding, if you have a neutral background (grey), then any areas in white are pulled out and any area in black is pushed in. I know that there are much better ways of doing it using Mudbox, but for the sake of showing that I understand the basics of bump mapping I will just use Photoshop. Results are shown below:
 |
| Door Pieces: Texture and Bump Map Images |
 |
| Geared Bolt: Texture and Bump Map Images |
 |
| Main Door Piece: Texture and Bump Map Images |
 |
| Tunnel Piece: Texture and Bump Map Images |
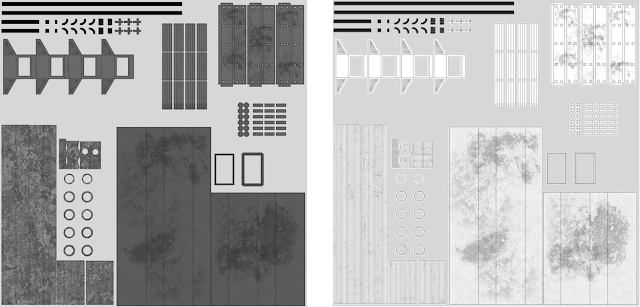 |
| Tunnel Props: Texture and Bump Map Images |


No comments:
Post a Comment