I was feeling a bit unhappy with how much work I managed to do in 2 hours (see post below), so I kicked it up a notch and decided to get as much as possible done tonight. Once I get in a working mood, it is difficult for me to get out of it. So, here we go... The next stages of my door design with step by step images:
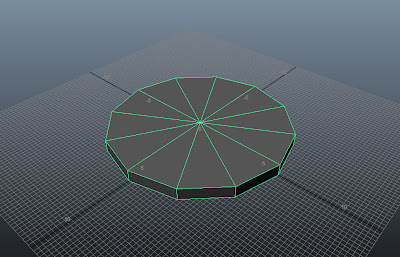 |
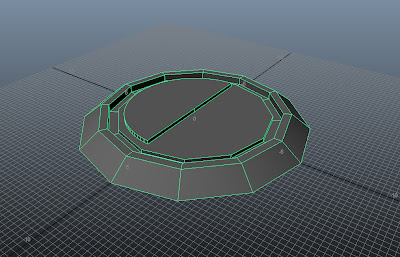
| Step 1: First of all, I created a 12 sided cylinder 6 units in width and 0.4 units in height. |
 |
| Step 2: Delete the edges from the centre. |
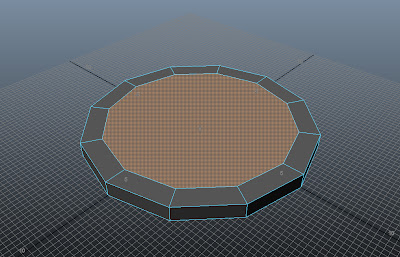 |
| Step 3: Extrude Tool, offset by 1 unit. |
 |
| Step 4: Select the outer edges, then move them down by 0.4 units. |
 |
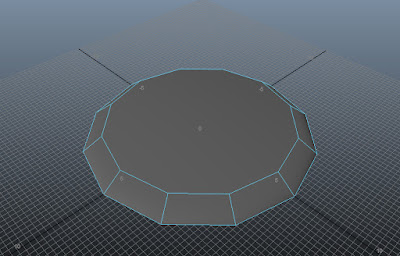
| Step 5: Select the middle face and extrude offset by 0.4 units. |
 |
| Step 6: Extrude the central piece by 0.4 units. |
 |
| Step 7: Extrude, offset by 0.4 units. |
 |
| Step 8: Extrude by 0.2 units. |
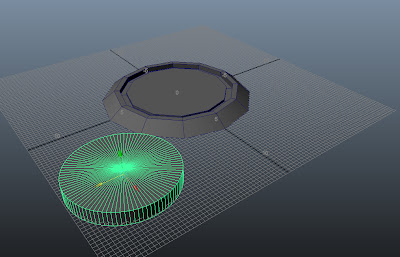 |
| Step 9: Create another cylinder (96 sides) of 4 units wide. |
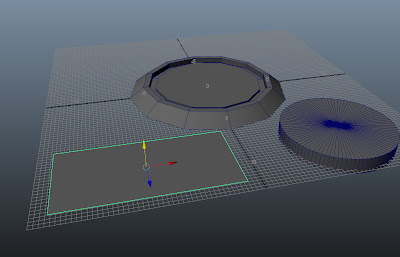 |
| Step 10: Create a plane, 10 units long and 6 units wide. |
 |
| Step 11: Rotate the plane by 90 degrees. |
 |
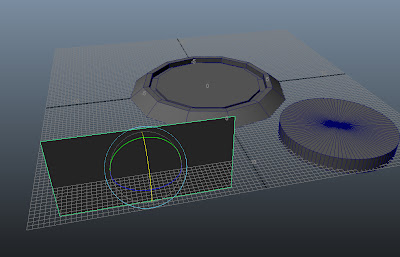
| Step 12: Position the plane to cut the cylinder in half. |
 |
| Step 13: Boolean, Difference tool to cut the cylinder in half. |
 |
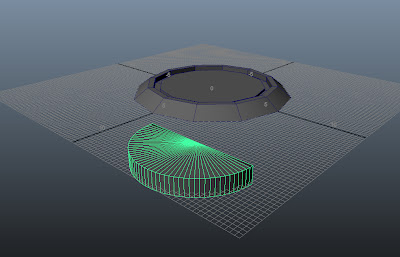
| Step 14: Delete the edges from the semi-circular plane. |
 |
| Step 15: Delete the lower edges and faces, leaving only the cleaned upper face. |
 |
| Step 16: A clean 1 sided semi-circular plane. |
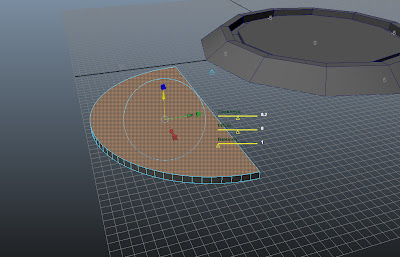 |
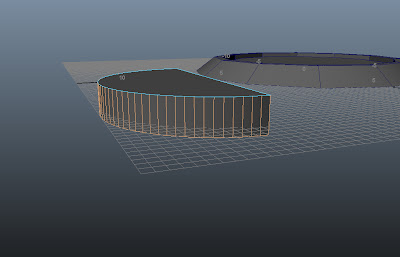
| Step 17: Extrude the face by 0.2 units. |
 |
| Step 18: Position the semi-circle on top of the original central piece and boolean. |
 |
| Step 19: Duplicate the semi-circular face. |
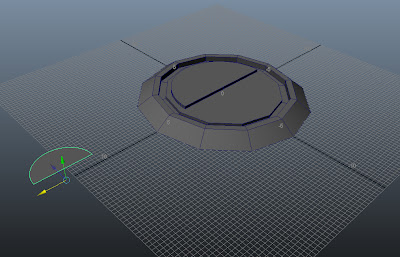 |
| Step 20: Scale the semi-circle down by half. |
 |
| Step 21: Rotate the semi-circle by 180 degrees. |
 |
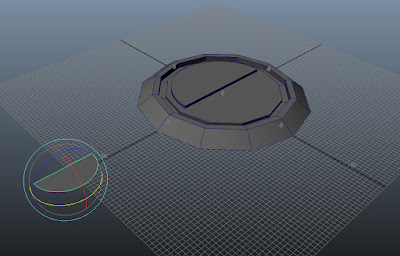
| Step 22: Extrude the face by 0.2 units. |
 |
| Step 23: Position the second semi-circle to have its upper face flush with the central face. |
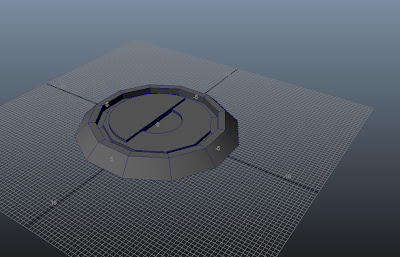 |
| Step 24: Use the boolean tool to intersect the two pieces, creating the depression. |
 |
| Step 25: The finished piece. |


No comments:
Post a Comment