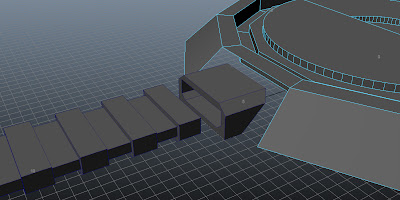
With the central piece and the locking bolts complete, I began to fix them together. Below is a step by step walk-trough of how I did it:
 |
| Step 1: First of all, I placed the two pieces in the same scene. |
 |
| Step 2:Position the bolt to the desired location. |
 |
| Step 3: Use the boolean tool to intersect the two faces. |
 |
| Step 4: Delete the face that the lock is positioned against. |
 |
| Step 5: Use the fill hole tool to create a clean face around the lock piece. |
 |
| Step 6: Select the lock piece and separate it from the central piece. |
 |
| Step 7: Select the lock pieces, group them together and set the axis to the centre of the main piece. |
 |
| Step 8: Duplicate the lock piece and rotate it by 60 degrees. |
 |
| Step 9: Repeat this process until all 6 pieces are in place. |
With that done, the next steps are to create the face of the vault door, add in the frames between each of the lock pieces and then add in the decorative handles/tubes from the door face to the centre piece.
No comments:
Post a Comment