As I said, today we were given a more detailed tutorial in UV mapping. Below I will walk through the stages completed as well as the tools used.
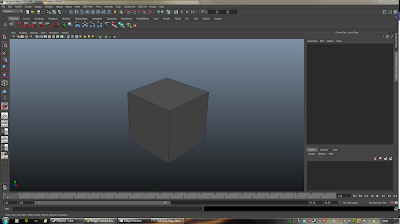 |
| Step 1: Create a Poly Cube. |
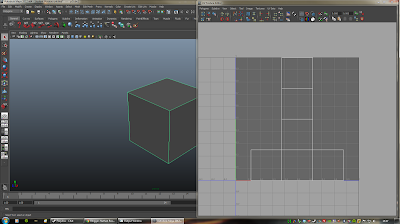 |
| Step 2: Open up the UV Texture Editor with the cube selected. |
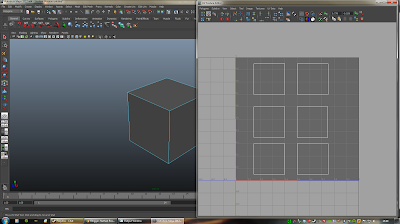 |
| Step 3: You can separate the pieces by selecting the lines and using the "Separate UV" tool. |
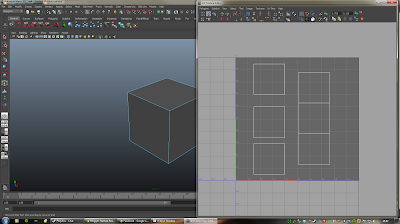 |
| Step 4: You can re-connect the lines by using the "Sew UV" tool, which automatically moves and links the UV groups together. |
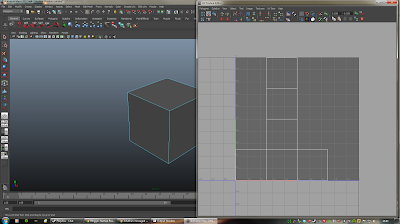 |
| Step 5: As shown above, all the pieces are stitched back together. |
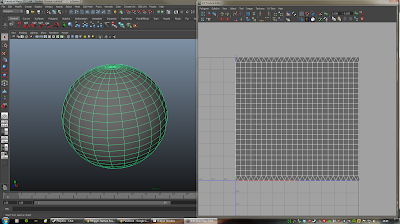 |
| Step 6: Moving on to a more difficult object, a sphere. The problem with a sphere is that the faces at the top of the sphere will be squashed and stretched, distorting the texture. So, we need to fix that. |
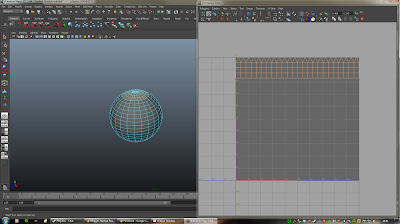 |
| Step 7: Select the top section of the sphere. |
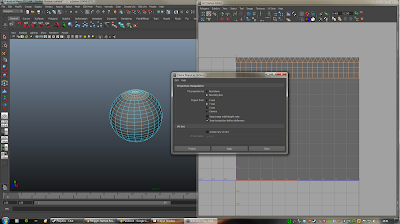 |
| Step 8: Create a Planar Map along the Y axis. |
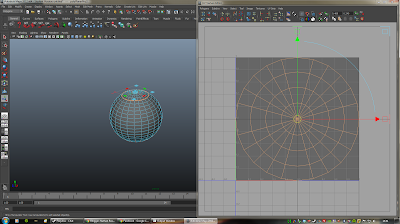 |
| Step 9: Adjust the Planar map to fit the sphere. |
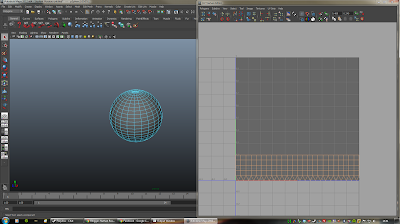 |
| Step 10: Select the lower section of the sphere. |
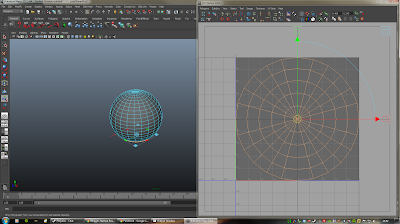 |
| Step 11: Create a Planar Map along the Y axis again. |
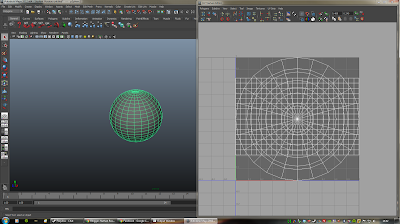 |
| Step 11: Select the entire sphere with Object Mode. |
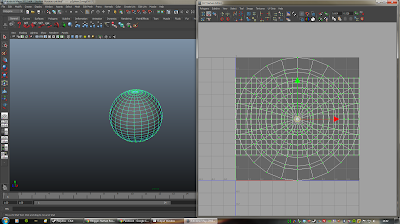 |
| Step 12: Select all the UV pieces with the Shell Tool |
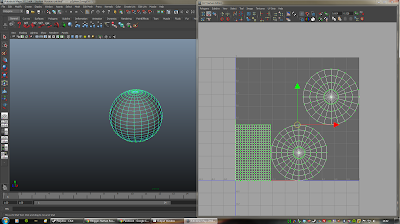 |
| Step 13: Use the Layout tool to automatically adjust the pieces to fit the area better. |
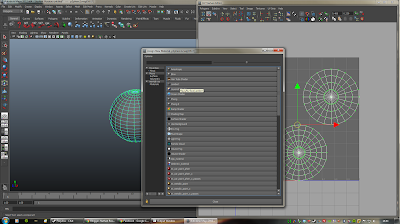 |
| Step 14: Right click the sphere, select "Assign New Material" and click Lambert |
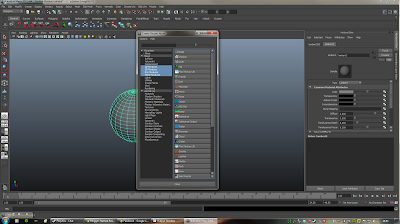 |
| Step 15: In the Attribute editor click the black and white icon next to colour, then select "Checker". |
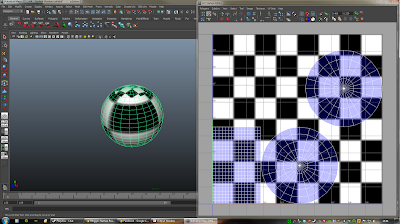 |
| Step 16: At the moment the texture is still a bit distorted, this is because the UV pieces are different sizes. |
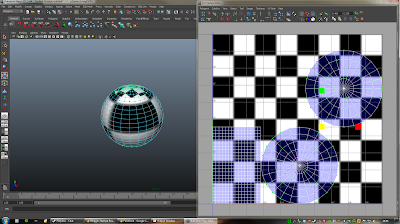 |
| Step 17: To fix this, select the Scale tool from the main panel and scale the squared block up. |
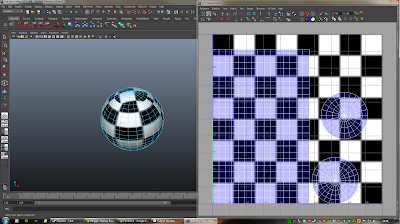 |
| Step 18: As you can see, the scale of the texture is now much better on the sphere. |
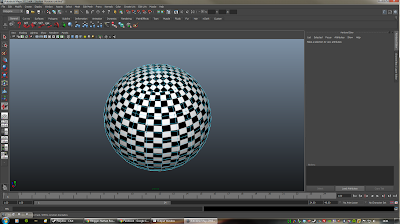 |
| Step 19: You can scale the image down even more, giving the above effect. |


No comments:
Post a Comment